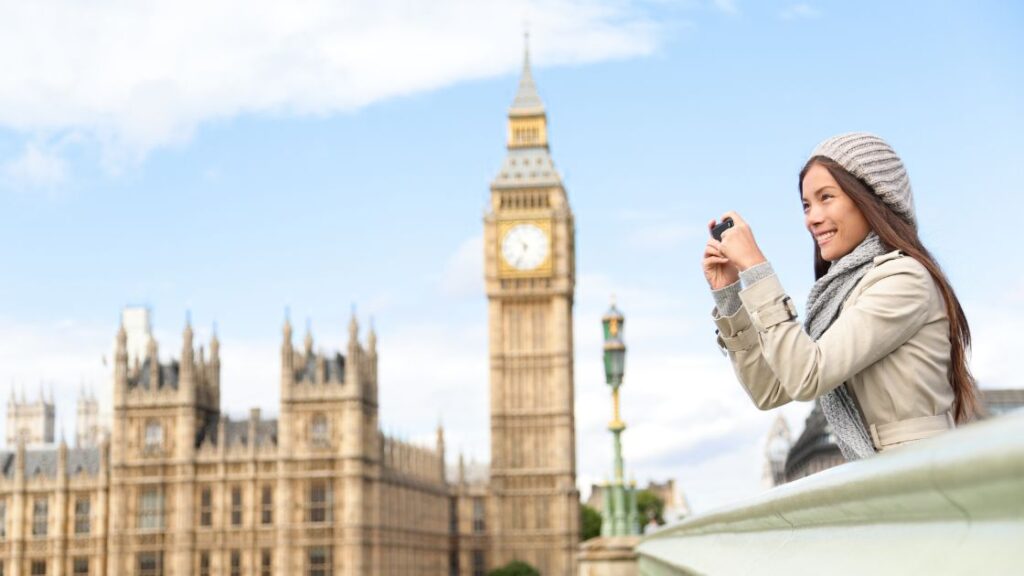
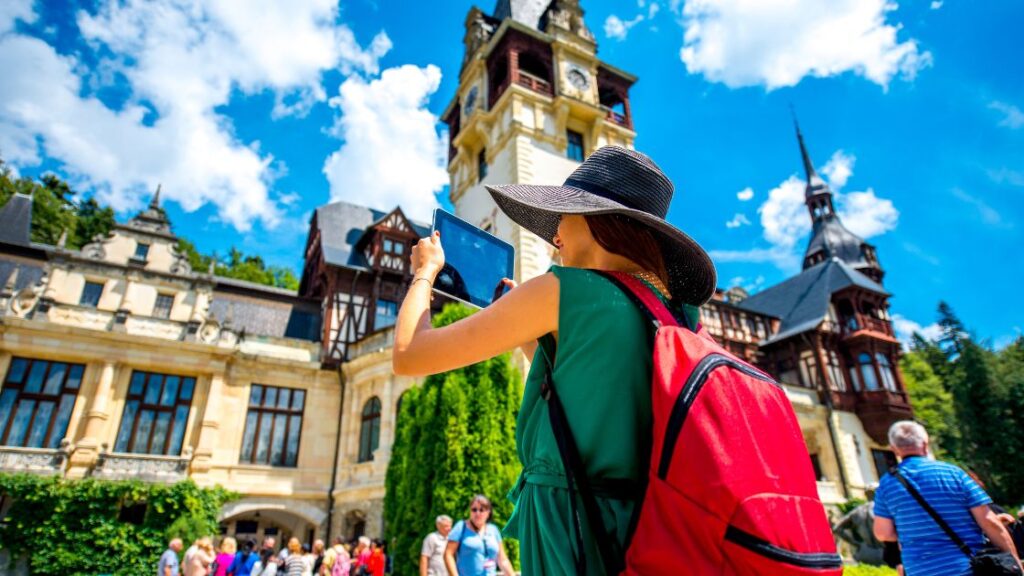
Not long ago, I believed only professional cameras could capture magazine-worthy travel photos. But then, somewhere on a remote trail in the Scottish Highlands, with nothing but my phone in hand and golden light dancing across the hills, I proved myself wrong. Since then, my smartphone has become my most trusted travel companion—not just for directions or bookings, but for capturing the essence of each journey.
If you’ve ever looked at your phone photos and felt like they didn’t do the moment justice, don’t worry. I’ve been there too. However, over the years, I’ve picked up simple techniques that have completely transformed the way I photograph the world—with zero expensive gear involved.
In this guide, I’ll share exactly how you can take stunning, scroll-stopping travel photos using just your phone—and why you don’t need a fancy DSLR to tell an unforgettable visual story.

Why Phone Photography Is More Powerful Than Ever
First of all, let’s clear up a common myth: phone cameras aren’t just for casual snapshots anymore. Thanks to advanced sensors, powerful software, and AI enhancements, modern smartphones can produce photos that rival some entry-level professional gear.
Even better, they’re always with you. That means you never miss the spontaneous, real moments—the ones that define travel. Whether it’s a burst of color at a local market or an unexpected street performance at sunset, you’ll be ready.
Learn to Use Natural Light to Your Advantage
If I had to share just one tip that dramatically improved my photos, it would be this: learn to chase great light. Phone cameras love natural lighting, and the best time to shoot is during the golden hour—the hour after sunrise and the hour before sunset.
During these times, light is soft, warm, and flattering. Shadows are gentle, and colors pop. Whether I’m shooting a beach, a cobblestone alley, or a plate of food, golden hour light always adds a magical glow.
Also, I try to avoid harsh midday sun whenever possible. If I must shoot in bright light, I find shade or position myself so the light comes from the side. That way, I avoid overexposed skies and squinting faces.
Tap to Focus and Adjust Exposure
Another game-changing trick? Learning to manually adjust the exposure and focus. Most people just point and shoot, but tapping your screen before taking a photo helps your phone lock onto the right subject.
Once you tap, you’ll usually see a small sun icon or slider next to the focus box. Drag it up or down to brighten or darken your photo. This trick helps me save details in both bright skies and shadowy corners. It’s especially useful for sunset landscapes or indoor shots in dim light.
So now, before I take any photo, I always tap, hold, and slide. It takes two seconds but makes a massive difference.
Clean Your Lens. Yes, Really.
This might sound basic, but it’s the easiest way to get clearer, sharper photos instantly. Travel means pockets full of sand, sunscreen, and smudgy fingers. So before I shoot, I give my lens a quick wipe with a soft cloth or even a shirt.
It’s amazing how many “blurry” or “foggy” shots I used to blame on my phone, when really, I just had a greasy fingerprint on the lens.
Compose Like a Pro Using the Rule of Thirds
When I first started improving my phone photography, I kept hearing about the “rule of thirds”—and it truly changed everything. It’s simple: imagine your screen divided into a 3×3 grid. Most phones let you enable this grid in camera settings.
I try placing my subject along one of the vertical lines or where two lines meet. This creates balance and draws the eye naturally into the frame. For example, I’ll frame a temple to the right with the horizon in the lower third, or I’ll shoot a mountain trail leading off from the left side.
This kind of composition instantly elevates a photo from “meh” to visually striking.
Use Leading Lines to Tell a Story
Whenever I see a winding road, a dock stretching into the water, or even footsteps in sand, I instinctively reach for my phone. That’s because lines that guide the viewer’s eyes through your photo—called leading lines—create depth and a sense of journey.
I love using them to convey motion or direction, especially in urban shots or nature landscapes. They help tell the story of where I am and where I’m going, which makes each photo feel more alive.
Don’t Zoom. Move.
I used to pinch and zoom all the time. The result? Pixelated, grainy images that lacked detail. Most phones use digital zoom, which just crops the photo, reducing quality. Now, I physically move closer to my subject whenever possible.
Whether I’m shooting a vibrant dish at a night market or a stone carving on a temple wall, I lean in, crouch down, or change my angle. This not only sharpens the shot—it also gives me more creative control over the background and framing.
Edit with Intention, Not Overkill
Once I snap a great shot, I bring it to life with a quick edit. My favorite apps are Lightroom Mobile, Snapseed, and VSCO. Each one is free and beginner-friendly.
I usually start by adjusting:
- Brightness and contrast to highlight key elements
- Warmth and tint to correct lighting
- Sharpness for added clarity
- Crop and straighten for better composition
What I avoid is overdoing it. Over-saturated skies or super-smooth skin edits make photos look unnatural. My goal is always to enhance the mood—not erase it.
Capture the Moment, Not Just the Scene
Here’s something I’ve learned after years of travel: the most memorable photos aren’t always the ones with perfect lighting or composition. They’re the ones that tell a story—of laughter on a chaotic tuk-tuk ride, a rain-soaked walk through a market, or a candid smile from a new friend.
So I try to stay present and ready. I shoot bursts of images during key moments, I keep my phone unlocked and my camera app handy, and I remind myself that emotion beats perfection every time.

Practice Makes Every Trip Better
At the start of every trip, I give myself a simple challenge: take at least five photos each day that I’m proud of. This habit keeps me creative and observant, and it’s helped me train my eye over time.
The best part? My travel photos no longer sit forgotten in a camera roll. I use them in printed journals, blog posts, and even to pitch freelance stories. That’s the power of learning to shoot well with the tool I already carry everywhere.
You Don’t Need a Pro Camera to Capture Magic
Great travel photos aren’t about expensive gear—they’re about attention, creativity, and connection. Your phone is already a powerful storytelling tool. With a few simple tricks, a clean lens, and a little intentionality, you can transform your travel memories into works of art.
So next time you hit the road, don’t worry about packing a bulky camera. Instead, use what’s already in your pocket—and trust yourself to see the beauty in every moment.
Thanks for reading Travel Tales! Stay tuned for more stories, tips, and inspiration from my adventures around the globe.
